ssh自动登录
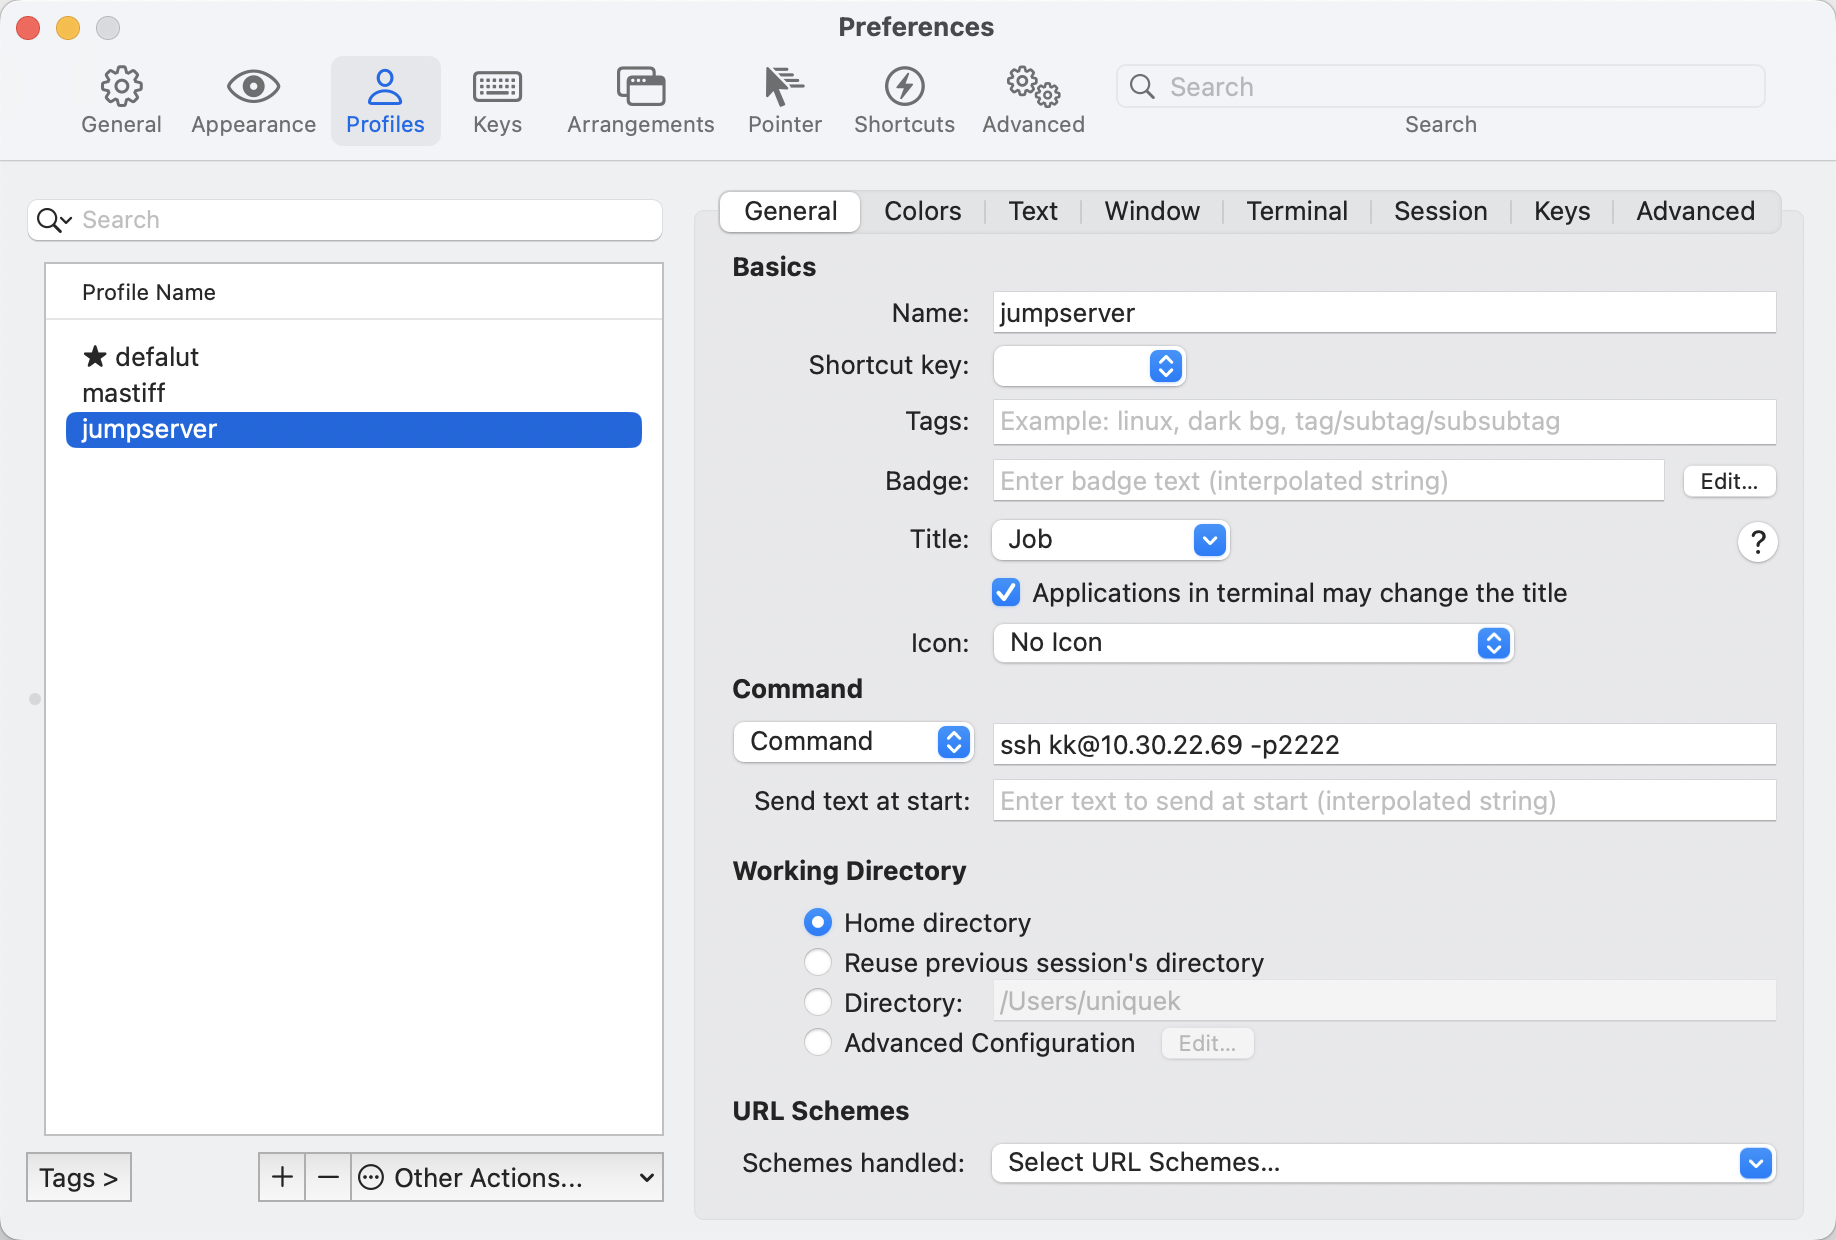
iTerm2—>Preferences—>Profiles,配置一个新的profile

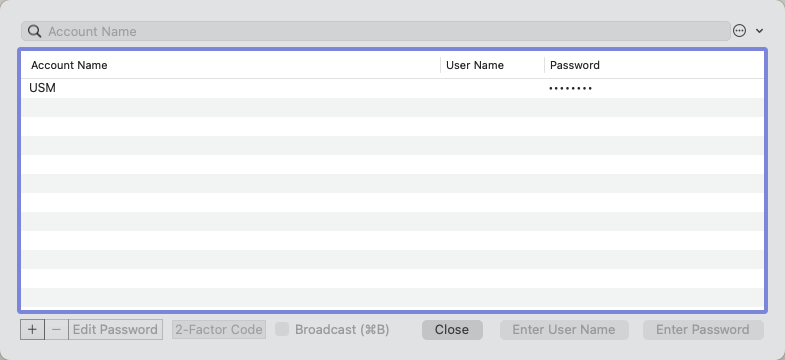
iTerm2—>Window—>Password Manager,AccountName只是提示,Password配置正确即可
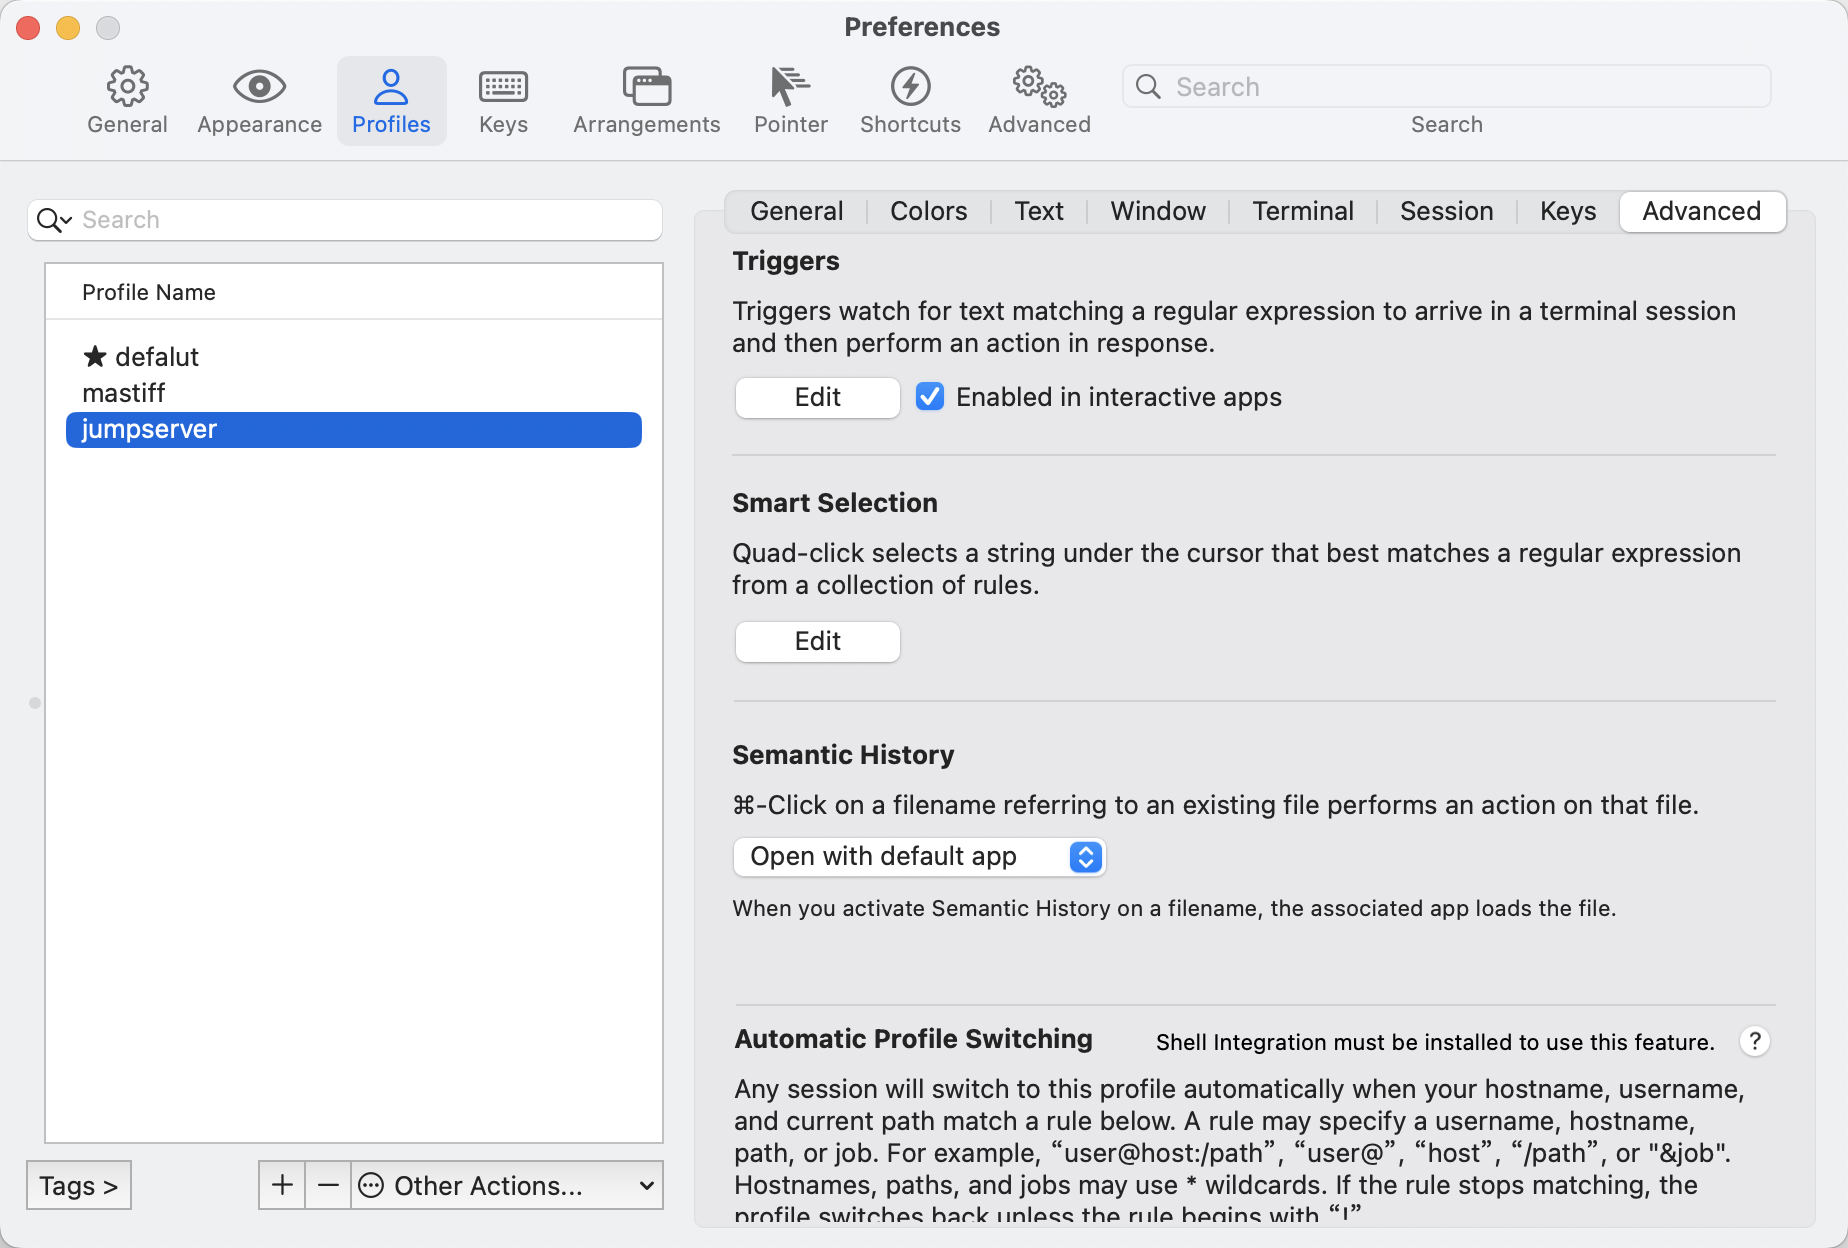
对应Profiles里面的Advanced选项,找到Triggers,点击Edit
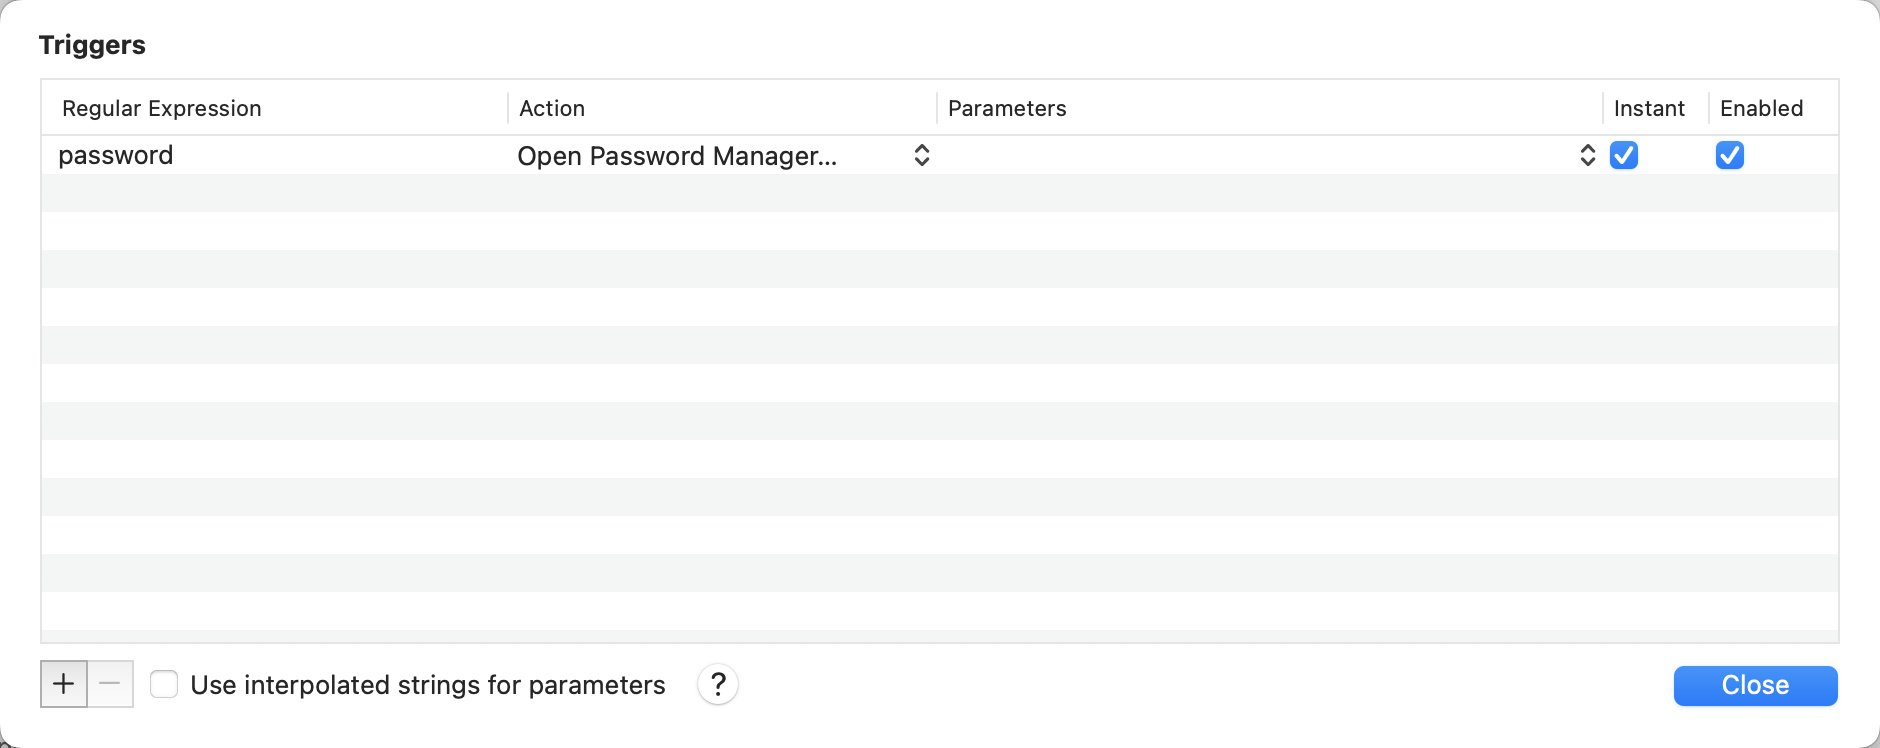
配置触发打开Password Manager
配置SSH会话复制、会话保持
在~/.ssh/config文件里添加几行配置即可。# 会话复制相关配置
Host *
ControlMaster auto
ControlPath ~/.ssh/%r@%h:%p.socket
ControlPersist yes
ServerAliveInterval 10 # 每隔10s发一次心跳
ServerAliveCountMax 3 # 三次心跳没响应则关闭连接command + o选择服务器连接,配置自动关闭窗口
 配置触发打开Password Manager
参考文档:https://blog.csdn.net/weixin_52777294/article/details/112410350
rzsz上传下载文件
在mac上安装lrzsz
brew install lrzsz
将iterm2-send-zmodem.sh和iterm2-recv-zmodem.sh脚本保存在/usr/local/bin/
iterm2-recv-zmodem.sh
# Author: Matt Mastracci (matthew@mastracci.com)
# AppleScript from http://stackoverflow.com/questions/4309087/cancel-button-on-osascript-in-a-bash-script
# licensed under cc-wiki with attribution required
# Remainder of script public domains
osascript -e 'tell application "iTerm2" to version' > /dev/null 2>&1 && NAME=iTerm2 || NAME=iTerm
if [[ $NAME = "iTerm" ]]; then
FILE=$(osascript -e 'tell application "iTerm" to activate' -e 'tell application "iTerm" to set thefile to choose folder with prompt "Choose a folder to place received files in"' -e "do shell script (\"echo \"&(quoted form of POSIX path of thefile as Unicode text)&\"\")")
else
FILE=$(osascript -e 'tell application "iTerm2" to activate' -e 'tell application "iTerm2" to set thefile to choose folder with prompt "Choose a folder to place received files in"' -e "do shell script (\"echo \"&(quoted form of POSIX path of thefile as Unicode text)&\"\")")
fi
if [[ $FILE = "" ]]; then
echo Cancelled.
# Send ZModem cancel
echo -e \\x18\\x18\\x18\\x18\\x18
sleep 1
echo
echo \# Cancelled transfer
else
cd "$FILE"
/usr/local/bin/rz --rename --escape --binary --bufsize 4096
sleep 1
echo
echo
echo \# Sent \-\> $FILE
fiiterm2-send-zmodem.sh
# Author: Matt Mastracci (matthew@mastracci.com)
# AppleScript from http://stackoverflow.com/questions/4309087/cancel-button-on-osascript-in-a-bash-script
# licensed under cc-wiki with attribution required
# Remainder of script public domain
osascript -e 'tell application "iTerm2" to version' > /dev/null 2>&1 && NAME=iTerm2 || NAME=iTerm
if [[ $NAME = "iTerm" ]]; then
FILE=$(osascript -e 'tell application "iTerm" to activate' -e 'tell application "iTerm" to set thefile to choose file with prompt "Choose a file to send"' -e "do shell script (\"echo \"&(quoted form of POSIX path of thefile as Unicode text)&\"\")")
else
FILE=$(osascript -e 'tell application "iTerm2" to activate' -e 'tell application "iTerm2" to set thefile to choose file with prompt "Choose a file to send"' -e "do shell script (\"echo \"&(quoted form of POSIX path of thefile as Unicode text)&\"\")")
fi
if [[ $FILE = "" ]]; then
echo Cancelled.
# Send ZModem cancel
echo -e \\x18\\x18\\x18\\x18\\x18
sleep 1
echo
echo \# Cancelled transfer
else
/usr/local/bin/sz "$FILE" --escape --binary --bufsize 4096
sleep 1
echo
echo \# Received "$FILE"
fi在 iTerm 2 中设置触发器
Setting >> Profiles >> 自定义的Profile >> Advanced >> Tiggers >> EditRegular expression: rz waiting to receive.\*\*B0100
Action: Run Silent Coprocess
Parameters: /usr/local/bin/iterm2-send-zmodem.sh
Instant: checked
Enabled: checked
Regular expression: \*\*B00000000000000
Action: Run Silent Coprocess
Parameters: /usr/local/bin/iterm2-recv-zmodem.sh
Instant: checked
Enabled: checked
在控制台输入rz,选择本地机器上要发送的文件,即可上传文件到服务器,sz filename,在本地机器上选择要接收的文件夹,即可下载到本地
参考文档:https://github.com/robberphex/iTerm2-zmodem
自动输入堡垒机验证码
堡垒机强制启用了 MFA 双因子认证,每次都需要打开 APP 输入验证码,登录不方便,于是利用 expect 与 oath-toolkit 完成自动登录。
安装依赖
# 生成双因子验证码的工具 |
获取secret,其他堡垒机平台类似,这里只展示jumpserver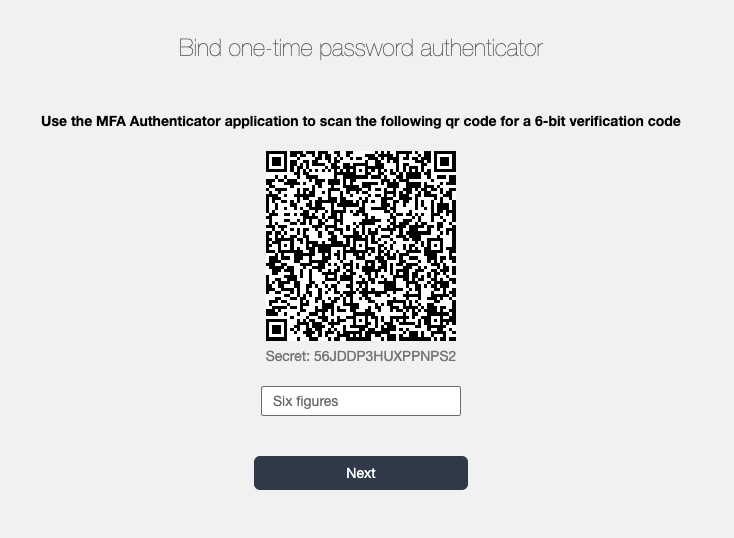
命令解析
# secret为绑定 MFA 时的二维码扫描出来后的结果,执行该命令会产生一个动态验证码 |
脚本逻辑:捕捉 ssh 登录的输出,匹配到 password 时发送密码,匹配到 OTP 时,发送 oathtool 生成的 TOTP 验证码。
命令登录要输入密码+双因子
mastiff.sh
|
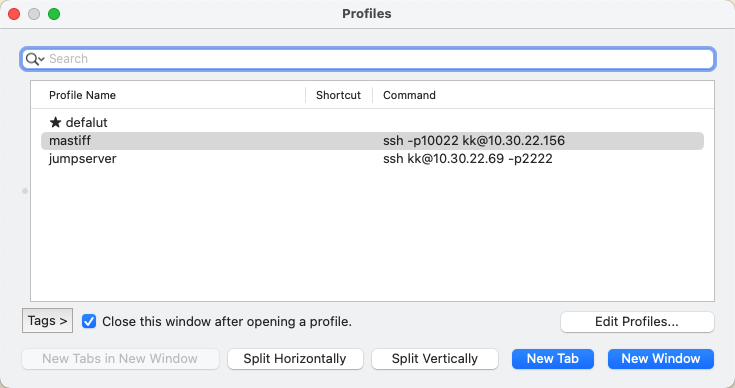
配置Profiles的命令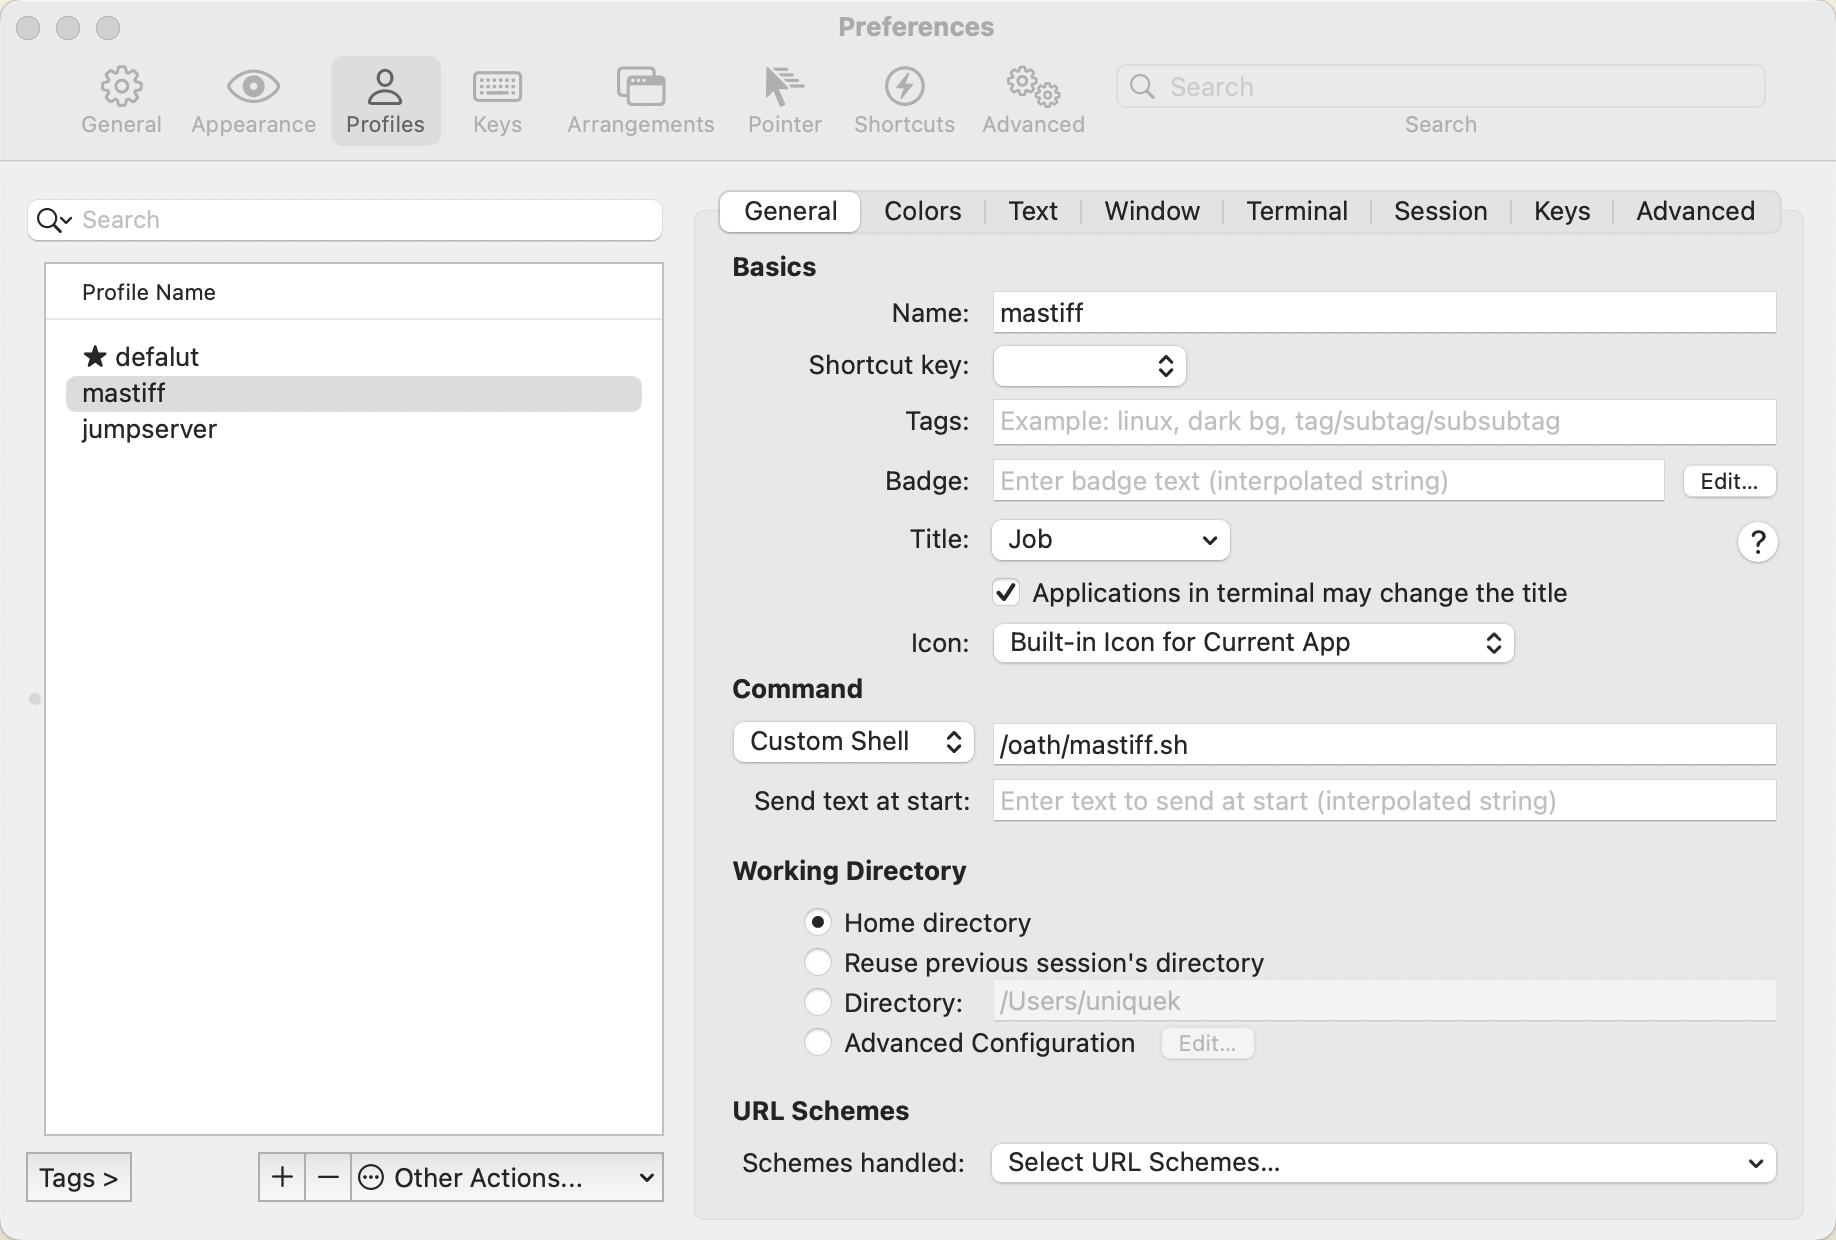
命令登录输入密码验证后,再输入双因子
jumpserver.sh
|
Profiles与上面配置一致即可